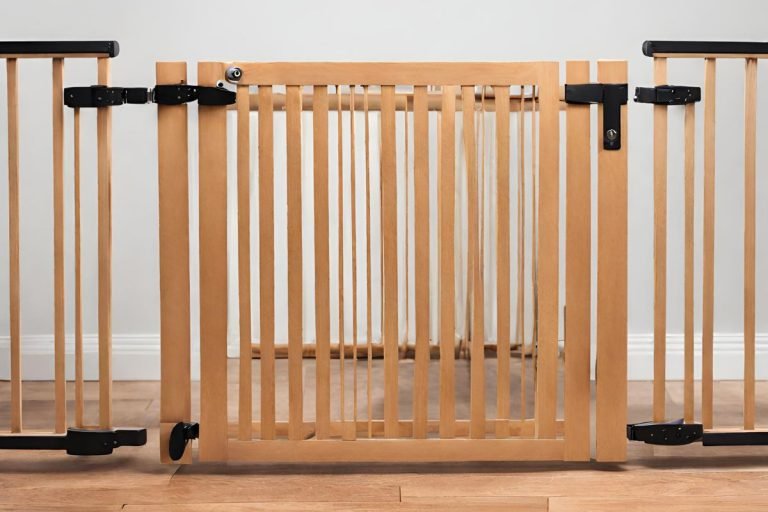
DIY Baby Gates: How to Create a Safe Barrier for Your Little One in 2025
Parenting is a rollercoaster of joy and worry, especially when your little explorer starts crawling. Safety is paramount, but who says it can’t look good, too? Enter DIY Baby Gate projects – the simple, stylish solution to keeping your home safe and chic.
In this guide, we’ll walk through each step of DIY Baby Gates, from materials to finishing touches. It’s a DIY project that safeguards your little one and elevates your space.
It’s super easy to install. Replacing the gate will be easy if you follow the instructions correctly. Let’s craft a secure haven with a touch of your unique style.
Materials Needed to Make A DIY Baby Gate
List of Supplies for Your Easy DIY Project
To create an easy DIY baby gate, you’ll need the following materials:
- Hinges: Choose sturdy hinges that can support the weight of the gate and are adjustable for a perfect fit.
- Latch: Select a latch that fits your needs and preferences, such as magnetic, spring-loaded, etc.
- Wood: Use strong and durable wood like pine or oak. You’ll need enough wood to create the gate and any necessary trim or decorative accents.
- Screws: Choose screws that are long enough to attach the gate to the wall or Baby Gates for Stairs securely but won’t damage the surface.
- Drywall anchors: Use drywall anchors to attach the gate securely to drywall or plaster walls.
- Wood glue: Apply wood glue to the joints of the gate for added strength and stability.
- Sandpaper: Use sandpaper to smooth out any rough edges or surfaces on the wood.
- Paint or stain (optional): If you want to add color or finish to your gate, choose a safe, lead-free, non-toxic paint or stain that matches your decor or adds personality to your space.
Where to Find Materials For Install The Gate
You can find all these materials at your local hardware store or home improvement center. Look for brands that are known for high-quality products and customer service.
If you prefer to shop online, read reviews and compare prices before purchasing. And don’t forget to check for any sales or discounts that could save you money!
Step-by-Step Instructions for Building A Simple Baby Gate
Measuring and Cutting The Wood
- Measure the opening width where you want to set the gate. Add an extra 2 inches to this measurement for trim and decorative accents.
- Cut two pieces of wood to this width using a saw. These will be the side panels of your gate.
- Measure the opening height where you want to set the gate. Cut two pieces of wood to this height using a saw. These will be the top and bottom panels of your gate.
- Cut two more wood fragments to match the opening height, but leave them a few inches shorter than the panels you just cut. These will be the vertical supports that will hold up the gate.
Assembling The gate
- Attach the vertical supports to the side panels using glue and screws. Make sure they are evenly spaced and level.
- Attach the top panel to the top of the vertical supports using wood glue and screws.
- Attach the bottom panel to the bottom of the vertical supports using wood glue and screws.
- Sand any rough edges or surfaces on the wood until smooth and even.
Install The Latch
- Choose a latch that fits your needs and preferences, such as magnetic, spring-loaded, or traditional hardware.
- Install the latch on one side of the gate using drywall mooring and screws, making sure it is centered and level.
- Install a matching latch on the opposite side of the gate, ensuring it is aligned with the first latch when closed.
- Open the latch and see that they open and close smoothly, and hold the gate latch securely while closing.
Painting or Staining the Gate (Optional)
- Clean the gate thoroughly with soap and water to remove dirt or debris. Allow it to dry completely before applying primer (if necessary).
- Apply a coat of primer (if necessary) followed by two coats of paint or stain, allowing each coat to dry completely before applying the next one. Follow safety precautions when working with paint or stains, such as wearing gloves and a mask and working in a well-ventilated area.
- Once finished, allow your DIY baby gate to dry completely before installing it!
Alternative DIY Baby Gate Options
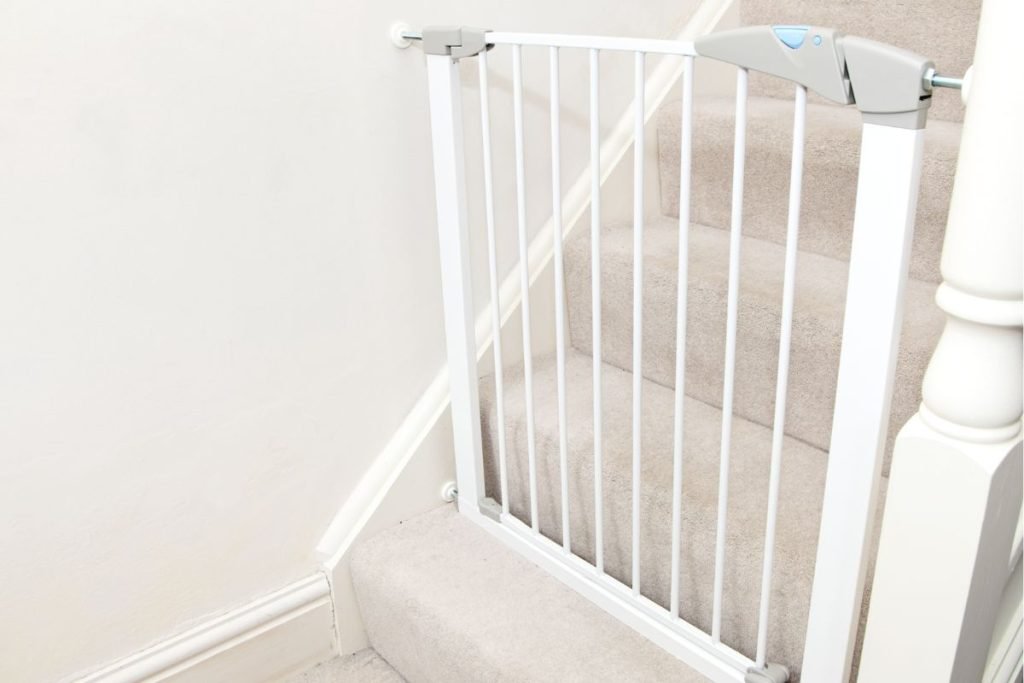
Using PVC Pipes and Fabric
- Measure the width and height of the opening where you want to set the gate.
- Cut PVC pipes to fit the height of the opening, leaving enough extra length to attach them to the wall or floor.
- Cut fabric to fit the width of the opening, leaving enough extra length to wrap around the PVC pipes and staple to the back.
- Attach the fabric to the back of the PVC pipes using a staple gun, ensuring it is taut and smooth.
- Attach the PVC pipes to the wall or floor using L-brackets or other hardware, ensuring they are level and secure.
- Add a latch or other hardware to hold the gate when closed.
- Check out the plastic gate that opens and closes smoothly and securely holds your baby in place!
Repurposing Old Doors or Screens
- Find an old door or screen that fits the size of your opening.
- Clean it thoroughly with soap and water to remove dirt or debris. Allow it to dry completely before applying primer (if necessary).
- Apply a coat of primer (if necessary) followed by two coats of paint or stain, allowing each coat to dry completely before applying the next one. Follow safety precautions when working with paint or stains, such as wearing gloves and a mask and working in a well-ventilated area.
- Install hinges on both sides of the door or screen, ensuring they are centered and level.
- Install a latch or other hardware to hold the gate when closed.
- Test the gate to ensure it opens and closes smoothly and securely holds your baby in place!
Creating a Custom Gate Using Pet or Livestock Panels
- Measure the width and height of the opening where you want to set the gate.
- Cut pet or livestock panels to fit the height of the opening, leaving enough extra length to attach them to the wall or floor.
- Attach hinges to one side of each panel, ensuring they are centered and level.
- Attach a latch or other hardware to one side of each panel, ensuring they are aligned when closed.
- Install vertical supports between each panel using screws and drywall mooring, making sure they are evenly spaced and level.
- Attach horizontal supports between each vertical support using screws and drywall anchors, making sure they are evenly spaced and level.
- Install bottom support along the bottom of each panel using screws and drywall mooring, making sure they are evenly spaced and level.
- Test your DIY custom or pet gate to ensure it opens and closes smoothly and securely holds your baby in place!
For more store-bought options, you can explore Best Baby Gates to compare different types available on the market.
Safety Tips for Using DIY Baby Gates

Proper Installation
- Follow the manufacturer’s instructions carefully when installing your gate. Make sure it is securely attached to the wall or floor and that it is level.
- Use appropriate hardware, such as screws and drywall mooring, to ensure the gate is firmly in place.
- Avoid using pressure-mounted gates, as they can easily tip over and pose a serious hazard to your baby.
- If you are using a gate with a latch, ensure it is out of your baby’s reach to prevent them from accidentally opening it.
- Check regularly to ensure the safety gate is securely attached and working properly. For more guidelines, explore Baby Gate Safety Tips.
Regular Maintenance and Inspection
- Check your gate regularly for any signs of wear or damage, such as loose screws or cracks in the wood.
- Tighten any loose screws or bolts immediately to prevent the gate from coming loose or falling over.
- Replace any damaged or worn parts, such as hinges or latches, as soon as possible to ensure the gate functions properly and safely.
- Clean the gate regularly with soap and water to remove any dirt or debris that could cause it to rust or corrode over time.
- Lubricate any moving parts, such as hinges or latches, with a silicone-based lubricant to prevent them from sticking or becoming difficult to operate over time.
Ensuring the Gate Meets Safety Standards
- Ensure your gate meets all relevant safety standards, such as ASTM F1004-15 for gates at the top of the staircases or ASTM F1966-17 for gates used in doorways or other openings.
- Check the label on your gate to ensure it meets these standards and is appropriate for use in your specific situation.
- Avoid using gates that do not meet these standards, as they may pose a serious hazard to your baby and should be replaced immediately.
- If your gate meets these standards, consult a professional installer or safety expert for guidance and advice.
Decorative Options for DIY Baby Gates

Adding Personal Touches
- Paint or stain your gate design to match your home’s decor. This can help it blend in seamlessly and make it look like a natural part of your space.
- Use stencils or decals to add fun designs or patterns to the gate. This can help it stand out and add a personal touch to your home.
- Add molding or trim around the edges of the gate to give it a more finished look. This can also help it blend in better with the rest of your home’s decor.
- Use fabric or wallpaper to cover the gate and create a unique and personalized look. This can also help soften the edges of the gate and make it more visually appealing.
- Add hardware, such as knobs or handles, that match the style of your home’s decor. This can help the gate look more cohesive and put together.
Using Baby Gates as a Design Element in the Home
- Use gates as room dividers to create separate spaces within your home. This can help you make the most of your space and create a more functional layout.
- Use gates as part of a gallery wall or art installation to add visual interest to your space. This can also help you uniquely showcase your baby’s artwork or other mementos.
- Use gates as a play area or activity center for your baby. This can help you create a designated space for playtime and build a gate that makes it easier to keep an eye on your little one while doing other things around the house.
- Use gates as part of a storage solution, such as attaching them to shelves or cabinets to create a more organized and functional space in your home.
- Use gates as part of a decorative display, such as by attaching them to a wall and using them to showcase plants, flowers, or other decorative items in your home. This can help you add visual interest and texture to your space while keeping your baby safe and secure.
Summary
DIY gates offer a practical and stylish solution for parents looking to create a safe environment for their little ones.
By choosing the right materials, carefully measuring and planning, installing with care, customizing to fit your style, and following safety tips, you can create a functional and beautiful gate that will keep your child safe while adding a unique touch to your home.
With the benefits of DIY gates, including encouraging creativity and problem-solving, you can rest easy knowing your child is protected while also enjoying the freedom to move around your home. So why wait? Start planning your DIY gate today!
Frequently Asked Questions
How Do I Childproof the latch on the DIY Gate?
Choose a challenging latch for a child to open but easy for adults. Additionally, consider adding additional childproofing devices if necessary.
How Tall Is a DIY Baby Gate?
The height of your gate will depend on your child’s height and your preference for safety. A standard height for a gate is around 30 inches (76 cm).
How Can I Make My Baby Gate Safer?
Follow these safety tips:
- Secure the gate to the wall or railing to prevent it from tipping over.
- Use a latch out of your child’s reach to prevent them from opening the gate independently.
- Check the gate regularly for any loose screws or hinges and tighten them as needed.
- Consider adding a pressure-mounted gate for convenience and safety in areas where drilling is not an option.
What Is the Maximum Gap Under a Baby Gate?
The maximum gap under a gate should be less than 2 inches (5 cm) to prevent your child from getting their head or body stuck. Check this gap regularly to ensure it remains within this limit.
How Do I Install a DIY Baby Gate Without Damaging My Walls?
Consider using pressure-mounted gates that don’t require screws or tools. If you opt for a hardware-mounted gate, use wall anchors and screws designed for your wall type to minimize damage.


