How to Clean a Baby Bottle Warmer the Right Way: The Ultimate Guide (2026)

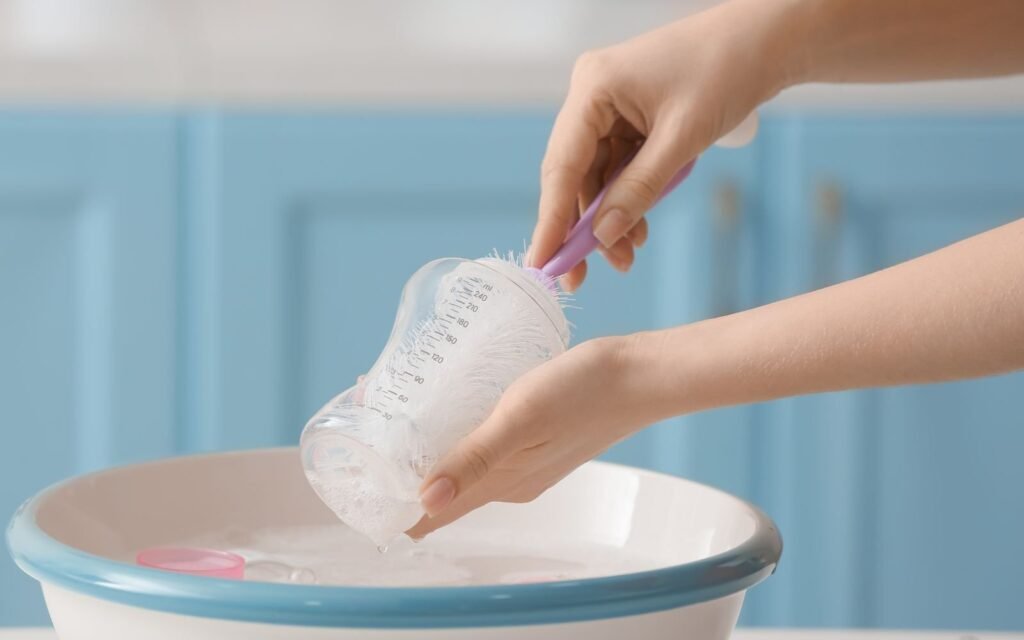
You grab the bottle warmer at 3 a.m., bleary-eyed and running on zero sleep. Then you notice it -a crusty white buildup inside the chamber. Sound familiar?
Most parents sterilize bottles religiously. But the warmer itself? That often gets skipped.
Here’s the thing: a neglected bottle warmer can harbor bacteria, slow down heating, and even affect the taste of your baby’s milk. Learning how to clean a baby bottle warmer properly takes less than 10 minutes -and it matters every single feed.
This guide walks you through everything. From a quick weekly rinse to a deep vinegar descale, you’ll have it covered from start to finish.
Why Cleaning Your Baby Bottle Warmer Matters

Every time you pour water into your warmer, it leaves minerals behind. With tap water especially, those minerals build up fast – forming that chalky white crust on the inside walls.
That buildup isn’t just unsightly. It can:
- Slow down heating time significantly
- Create warm, moist spots where bacteria and mold thrive
- Shorten the lifespan of your warmer
- Affect the quality of your baby’s milk over time
A clean bottle warmer heats evenly, lasts longer, and stays safe. That’s reason enough to make this a regular habit.
What You Need Before You Start
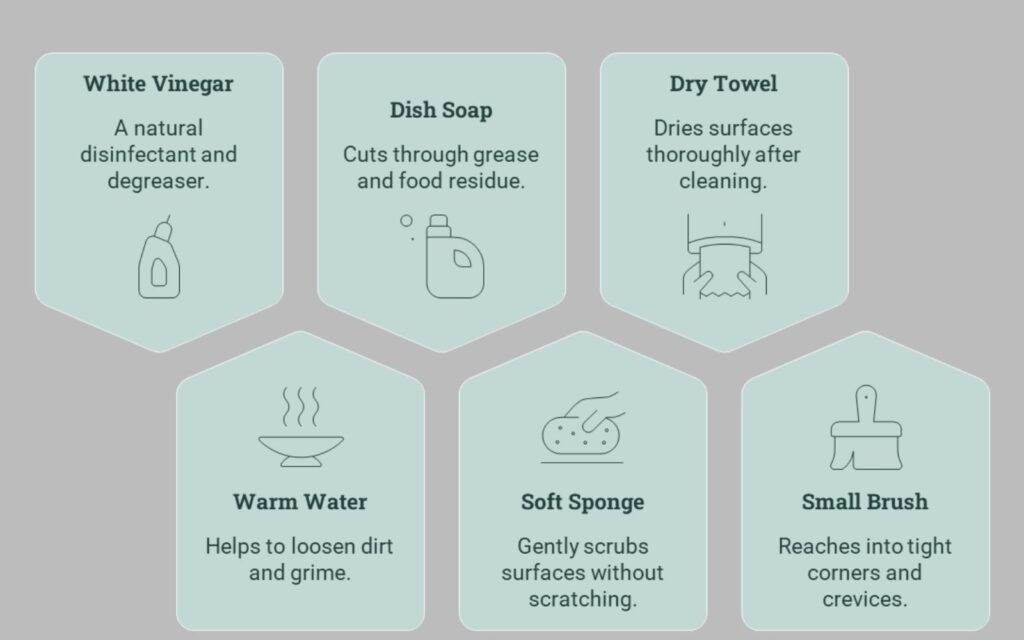
Good news: you don’t need any special products. Everything is probably already in your kitchen.
- White distilled vinegar
- Warm water
- Mild dish soap
- A soft sponge or cloth (no abrasive pads)
- Dry towel or paper towels
- Small soft brush (optional, for corners)
No harsh chemicals. No baby-unsafe cleaners. Just simple, effective tools you already have.
How to Clean a Baby Bottle Warmer Step by Step
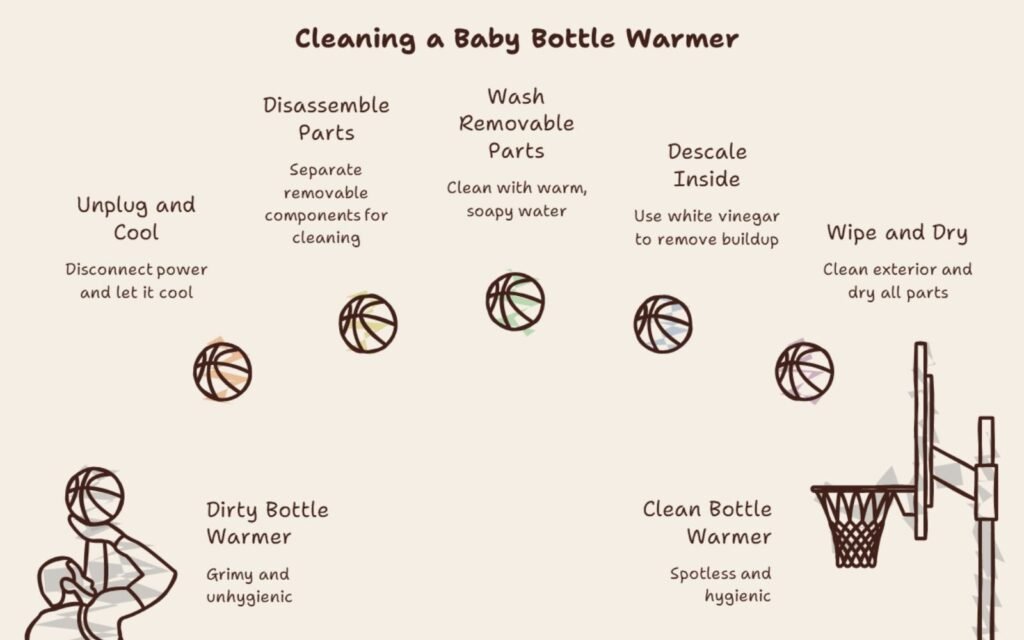
Follow these five steps and your warmer will be spotless in under 15 minutes.
Step 1 – Unplug and Let It Cool
This one is non-negotiable. Never clean a bottle warmer that’s still warm or plugged in. It’s a safety hazard — and hot surfaces can damage both you and the appliance.
Unplug it and wait 20 to 30 minutes before you touch it. Go make yourself a coffee. You deserve it.
Step 2 – Disassemble the Parts
Remove everything that can come apart — the warming chamber, basket, lid, and any trays. If you’re not sure what detaches, check your warmer’s manual. Each brand is a little different.
These removable pieces will be hand-washed separately. The base unit stays put.
Step 3 – Wash Removable Parts with Warm Soapy Water
Fill your sink with warm water and a small drop of mild dish soap. Gently wash each piece with a soft sponge.
- Rinse each part thoroughly — no soap residue
- Soap taste can linger and transfer to bottles, so rinse twice if needed
- Lay parts on a dry towel to air dry
Skip the dishwasher unless your warmer’s manual specifically says it’s safe. Heat and harsh dishwasher detergent can warp or crack the parts.
Step 4 – Descale the Inside with White Vinegar
This is where you tackle the mineral buildup. White vinegar dissolves that chalky residue naturally and safely.
Here’s exactly what to do:
- Mix equal parts white vinegar and cold water
- Pour the solution into the warmer’s water chamber
- Let it sit undisturbed for 10 to 15 minutes
- Swirl it gently, then pour it out
- Rinse the chamber 2 to 3 times with clean water to remove any vinegar smell
For heavy buildup, run the vinegar solution through a full heating cycle instead of just soaking. Follow that with two plain water cycles to rinse completely.
Step 5 – Wipe Down the Exterior and Dry Everything
Use a damp cloth to clean the outside of the warmer — especially around buttons and the warming slot, where drips like to hide.
Before reassembling, make sure every single part is fully dry. Even a little trapped moisture can lead to mold growing between uses. Take your time here.
Once everything is dry, put it back together. Done.
How Often Should You Clean a Baby Bottle Warmer?
Here’s a simple routine you can actually stick to:
- After every use: Empty leftover water from the chamber. Stale water is the fastest route to bacterial growth.
- Once a week: Full soap-and-water wash of all removable parts.
- Every 4 to 6 weeks: Full vinegar descale, especially if you use tap water.
Using filtered or distilled water in your warmer? You can stretch the deep clean to every 6 to 8 weeks. Tap water leaves mineral deposits much faster.
Common Mistakes to Avoid
A few habits can actually damage your warmer or make the hygiene problem worse. Watch out for these:
Leaving water sitting in the chamber. This is the most common mistake parents make. Old water grows bacteria quickly. Empty it after every single use.
Scrubbing with rough pads. Steel wool or abrasive scrubbers will scratch the interior coating. Scratches become hiding spots for bacteria. Always use a soft sponge.
Skipping rinse cycles after vinegar cleaning. Vinegar smell transfers. If you don’t rinse thoroughly, your baby’s next bottle may taste off. Rinse at least twice with plain water.
Ignoring the outside. The exterior gets touched every feed. Drips and residue collect fast. A quick weekly wipe-down keeps it hygienic.
Using bleach or harsh cleaners. These are not safe around baby feeding equipment. Stick to white vinegar and mild dish soap -they’re effective and completely baby-safe.
Frequently Asked Questions
Can I put bottle warmer parts in the dishwasher?
Only if your manual says so. Most bottle warmers are not dishwasher-safe. Always check the label on your specific model before trying it.
How do I get rid of the vinegar smell after cleaning?
Run two or three full cycles with plain water. The vinegar smell disappears completely after a thorough rinse.
What if the mineral buildup won’t come off with vinegar?
Try a stronger mix — two parts vinegar to one part water. Let it soak for up to 30 minutes. For stubborn spots, use a soft, small brush to gently scrub the area.
Can I use lemon juice instead of white vinegar?
Yes. Fresh lemon juice works as a natural descaler in the same ratio. Just rinse thoroughly afterward — lemon residue can leave a sticky film if not washed away.
My bottle warmer has a bad smell. What should I do?
A bad smell usually means bacteria from old water or mold from trapped moisture. Do a full vinegar clean, rinse well, and let it air dry completely — with the lid open — before the next use.
Final Thoughts
Keeping your baby bottle warmer clean doesn’t take much effort — just a bit of consistency. Empty the water daily. Do a quick soap wash weekly. Descale with vinegar once a month.
That simple routine keeps it hygienic, efficient, and lasting for as long as your little one needs it.
Now that you’re a bottle warmer cleaning pro, check out our other guides on choosing the best baby gear for every stage of your child’s growth.





One Comment